The first step to Web Development is to decide
on a web editor that you are comfortable to use. I have chosen to use Visual Studio Code and
Visual Studio 2017 to start my coding because I am already familiar with the developer interface.
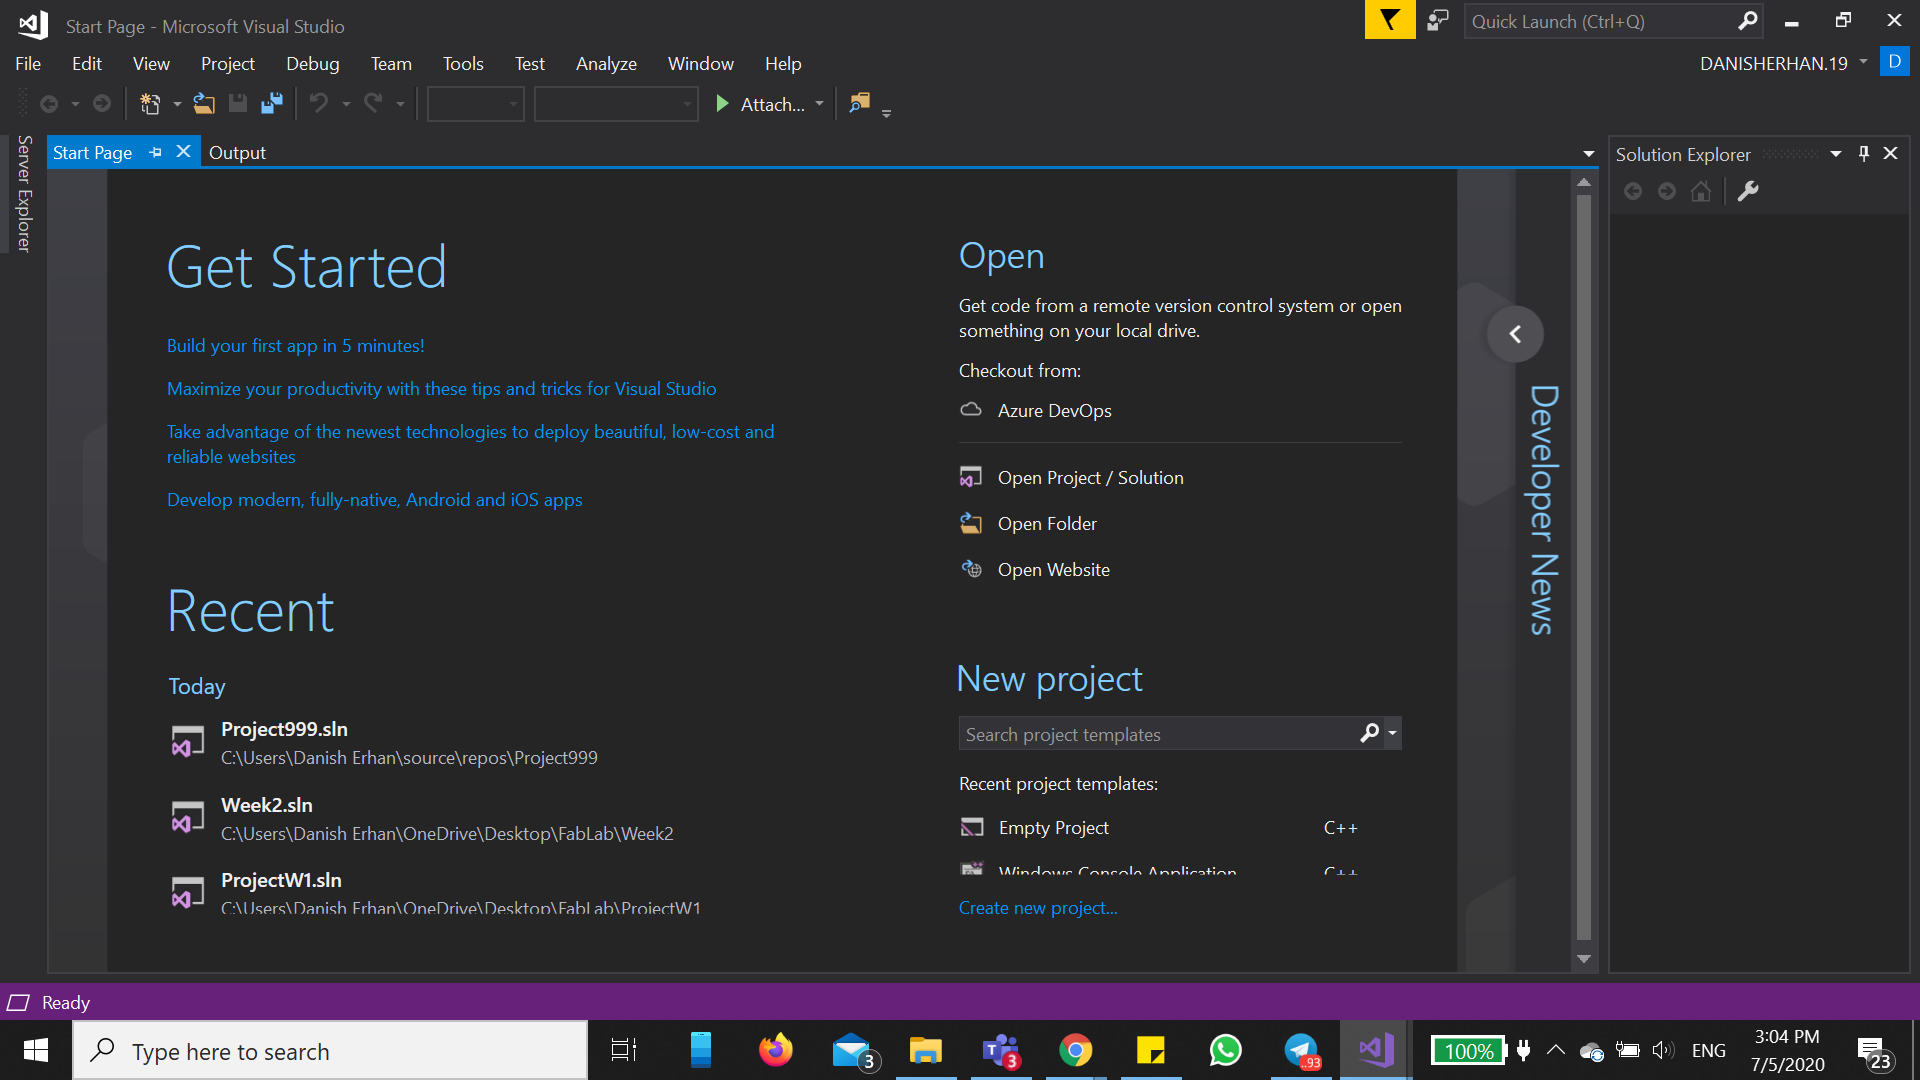
Once, installed u may begin to start on your new project. Step1: Open your VScode app to the homepage and
press Create new project...
Step 2: Press Visual C++ on the left side, click on Empty Project
and then name your project.
After clicking OK, A page like this will pop up. This is your Solution.
Step 3:Right click on Source Files in the Solution Explorer and add new item.
Alternatively, you can press Ctrl+Shift+A on your keyboard.
Step 4: Rename the Source.cpp file to Source.html and press Add
The screen should appear like this. Now you may begin to code in HTML.
As a beginner I refer to
W3Schools Website
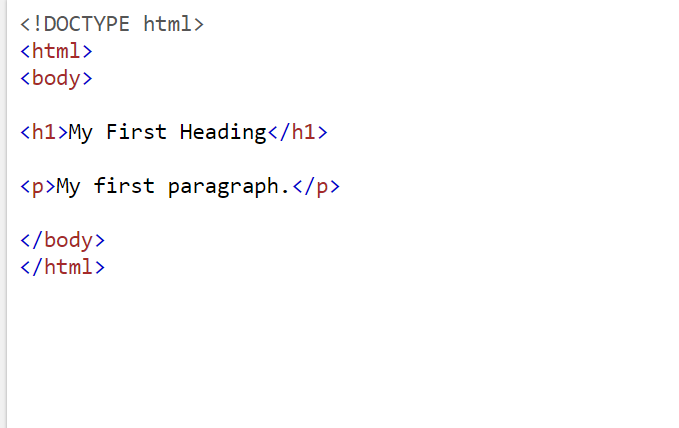
for reference. Below I have written a very simple HTML code which
describes my first paragraph.
Step 5:Right click on Source.html in the Solution Explorer and
click View in Browser. Alternatively, you can press Ctrl+Shift+W on your keyboard.
This will bring you to your Chrome HTML Document File.
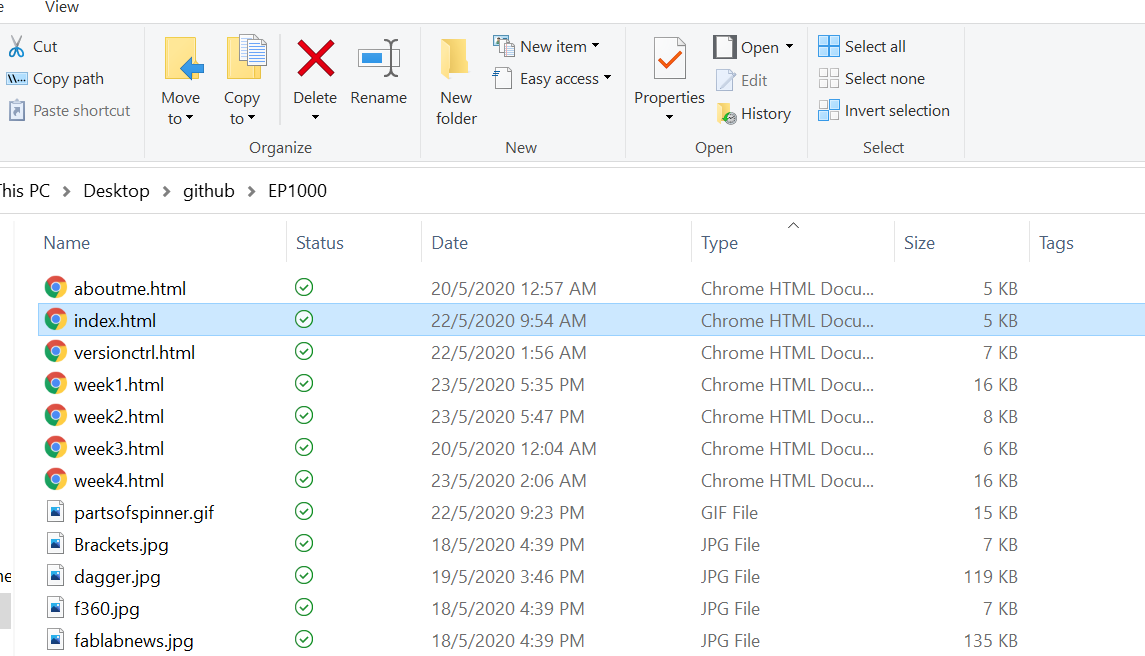
Making subpages on a webpage is a very simple process.
Firstly, I create a new file under my root
directory. I name it with any name I want it other than 'index'. Ensure that the files
end with a '.html'. For example 'gallery.html' or 'contact.html'. Below is how my root directory looks like in the
creation of this website.
When you click on the Intro to FabLab button on the sidebar, it directly links you to
week1.html file. This is because, I previously named Intro to FabLab as Week 1 on the sidebar.
For more clarification, watch this very comprehensive YouTube video on "How to make Subpages in HTML".
HTML stands for Hypertext Markup Language. It is the standard markup language for documents designed to be displayed in a web browser.
It can be assisted by technologies such as Cascading Style Sheets (CSS) and scripting languages such as JavaScript.
After learning how to create your files and make subpages, finally you will learn how to start your 'Real' coding. To start
off, let's look at a very basic HTML code below.
What does !DOCTYPE html tag do?
The !DOCTYPE html declaration is used to inform a website visitor's browser that the document being rendered is an HTML document.
While not actually an HTML element itself, every HTML document should being with a DOCTYPE declaration to be compliant with
HTML standards.
Cascading Style Sheets (CSS) is a style sheet language used for describing the presentation of a document written in a markup
language like HTML. It makes the information presented in a webpage more presentable and plays an important role in product
design as it attracts more viewers to the website.
Templated.co (a database of outstanding templates done by UX Designers)
JavaScript
For me, I am using JavaScript in the creation of this page. For example, making the collapsibles and 'Scroll to Top' button
requires using JavaScript. More resources on JavaScript


.png)
.png)
.png)
.png)
.png)
.png)
.png)
.png)