1. Extrusion
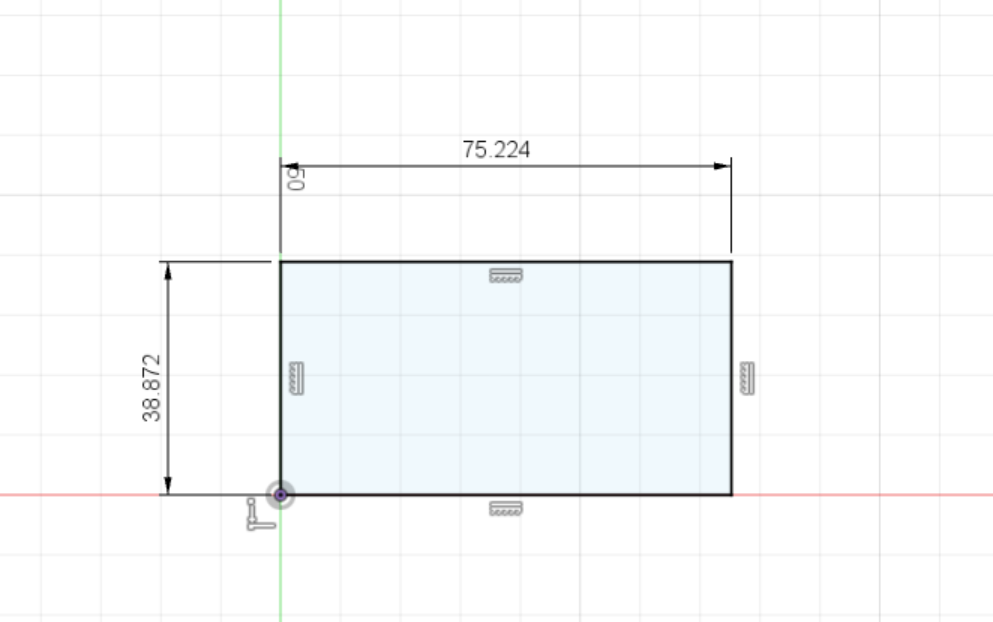
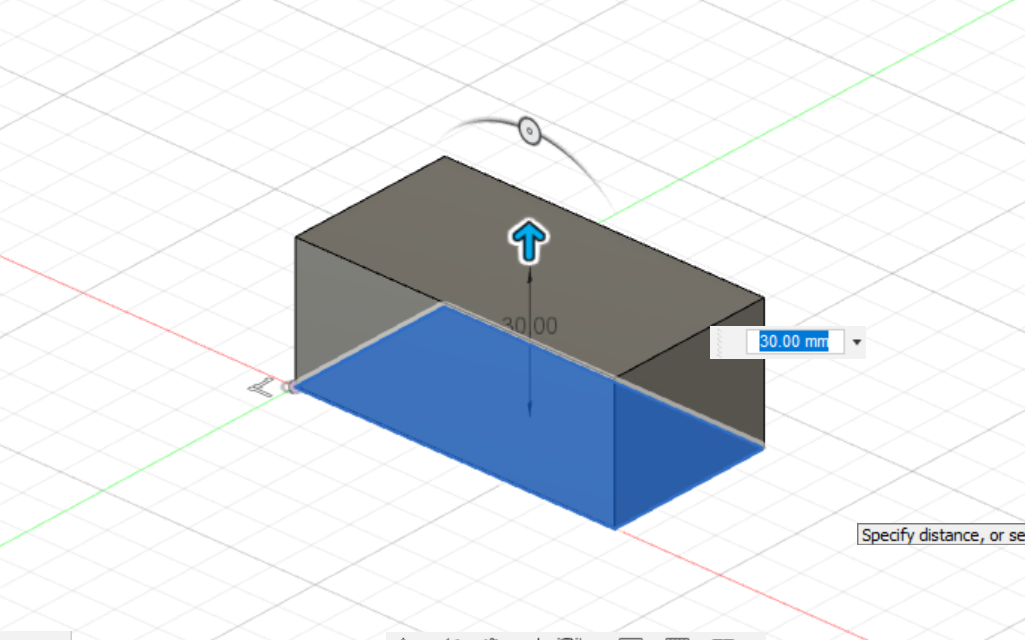
Extrusion creates a 3D solid from an object that encloses an area, or a 3D surface from an object with open ends. To
extrude, click on the Finish Sketch and mouse over to the Create tab and click the Extrudetool.
Another way is using the shortcut key 'E' on the keyboard.
2. Revolution
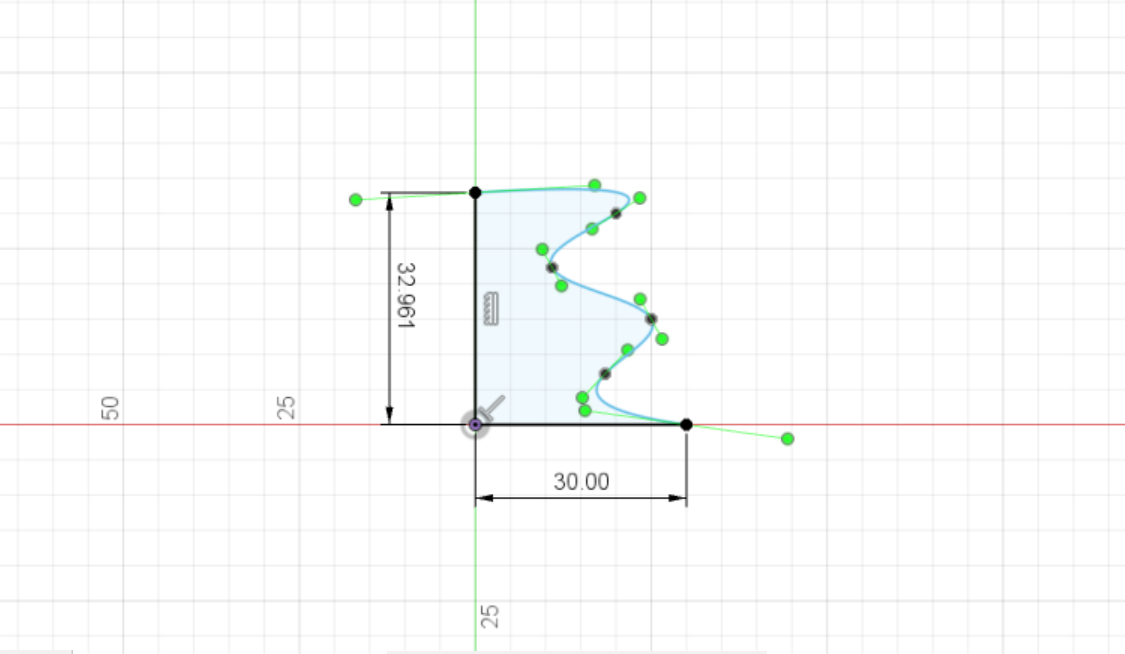
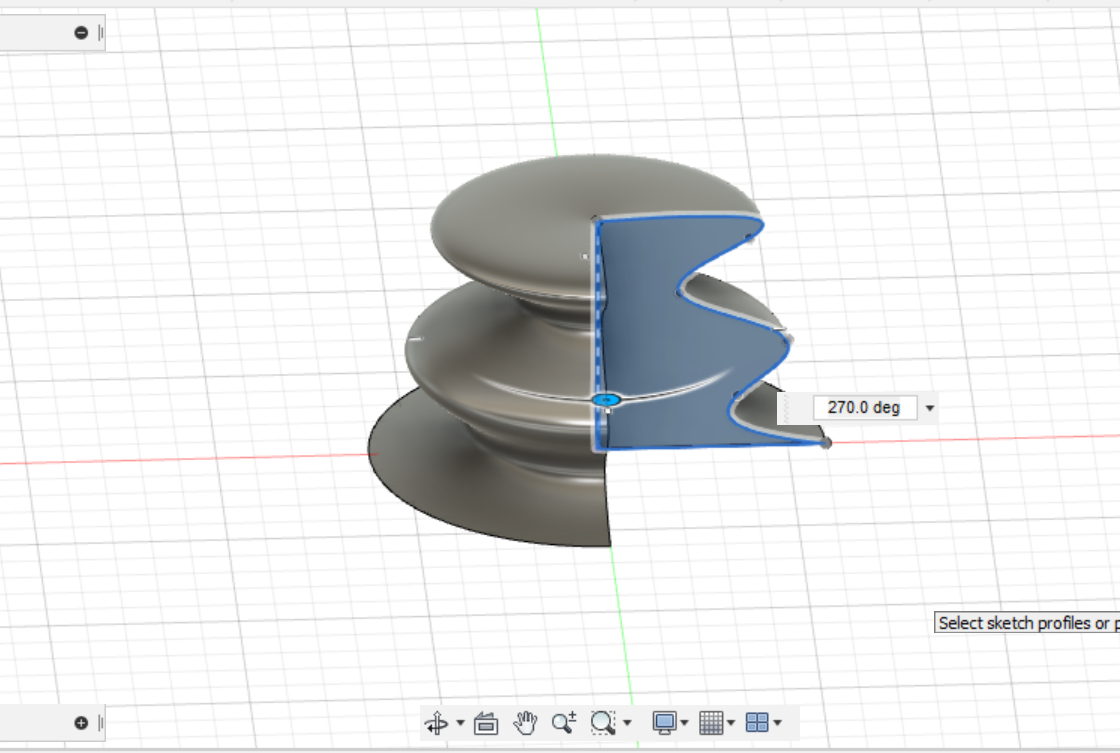
Revolve creates a feature or new solid body by rotating one or more sketched profiles around an axis. To revolve an object create
a 2D sketch that is enclosed. Mouse over to the Create tab and click the Revolve tool. Select the face you wish to revolve and
the axis of the revolution.
3. Fillet
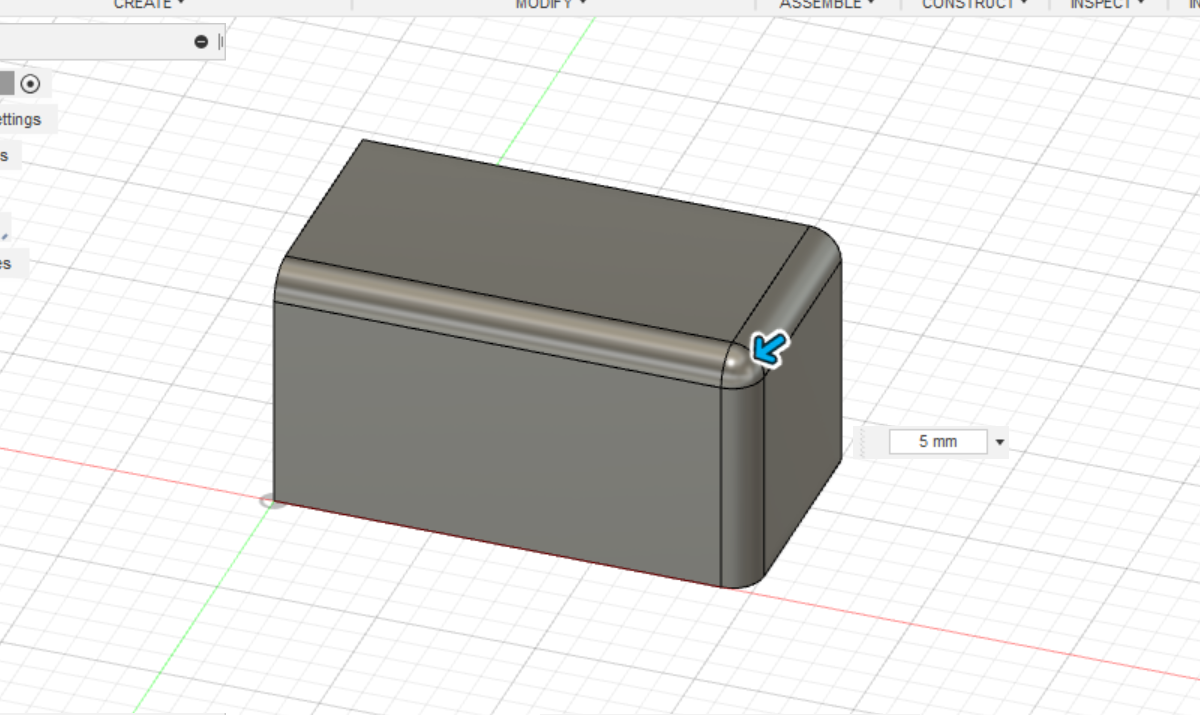
Fillet creates smooth rounded edges to objects. To create a fillet, mouse over to the Modify tab and click on
the Fillet tool. Another way is using the shortcut key 'F' on the keyboard.
4. Chamfer
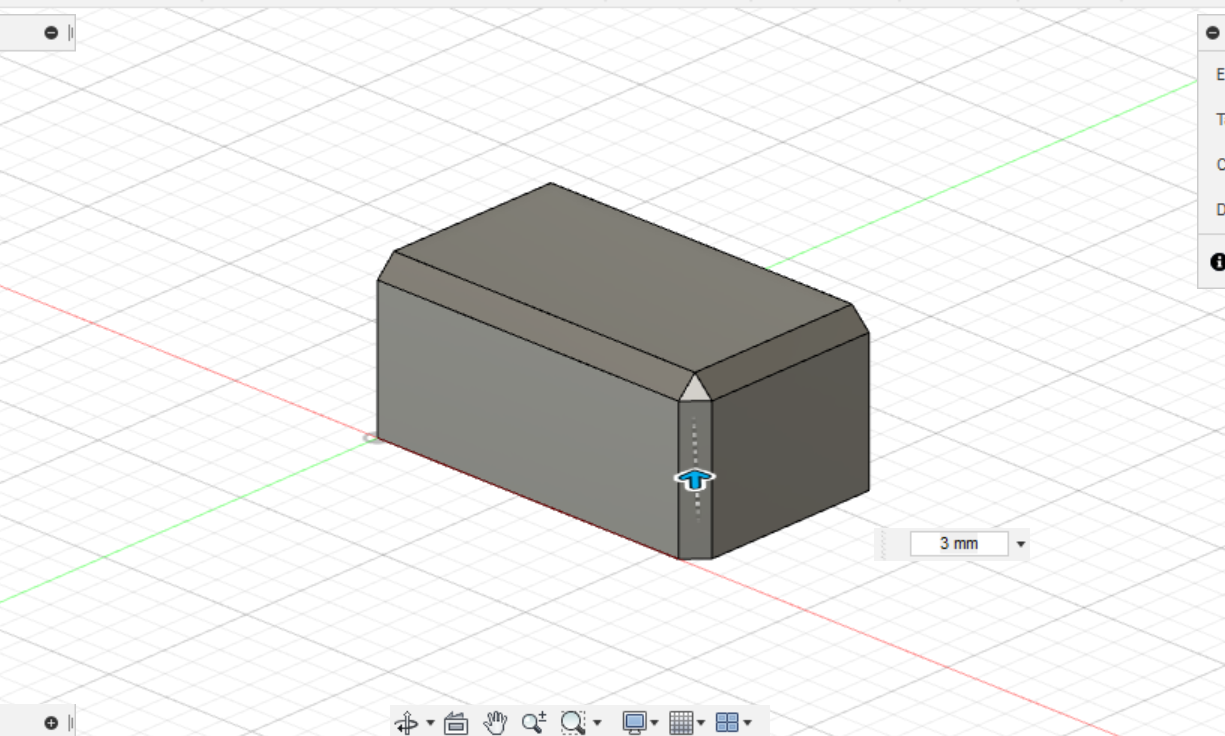
Chamfer creates a sloped transition between two surfaces or adjacent faces on a 3D solid. To create a Chamfer,
mouse over to the Modify tab and click on the Chamfer tool.
5. Offset
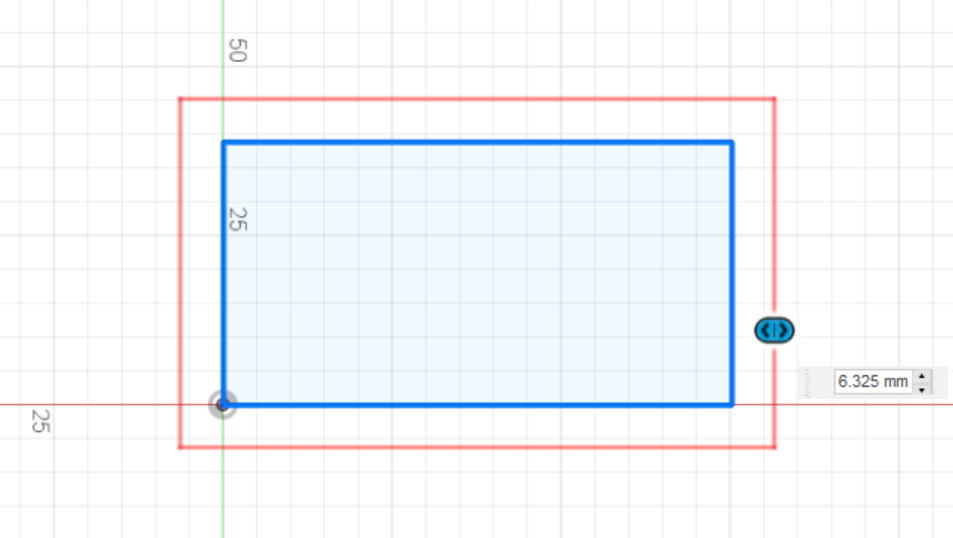
Offset creates concentric circles, parallel lines, and parallel curves on the 2D sketch. To offset, mouse over to
the Modify tab and click on the Offset tool. Another way is using the shortcut key 'O' on the keyboard.
6. Loft
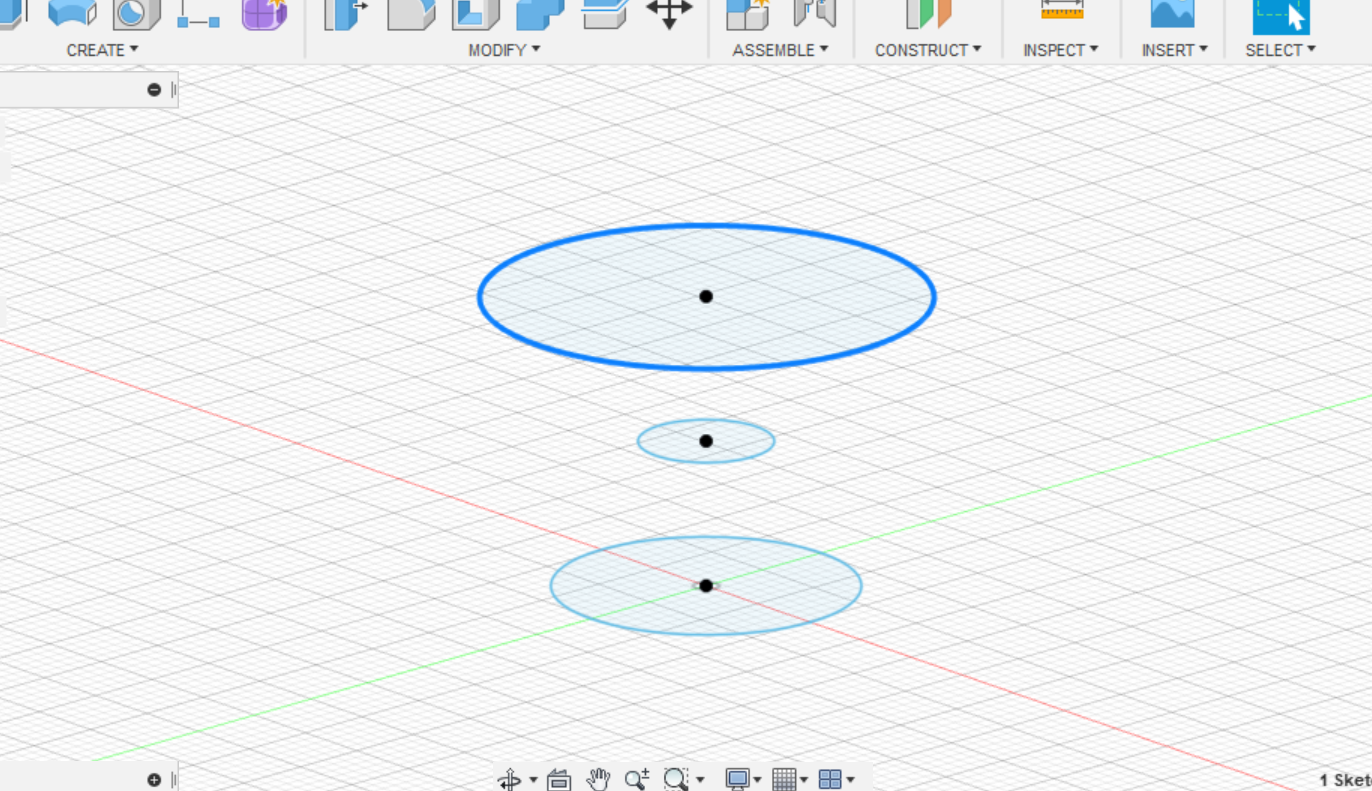
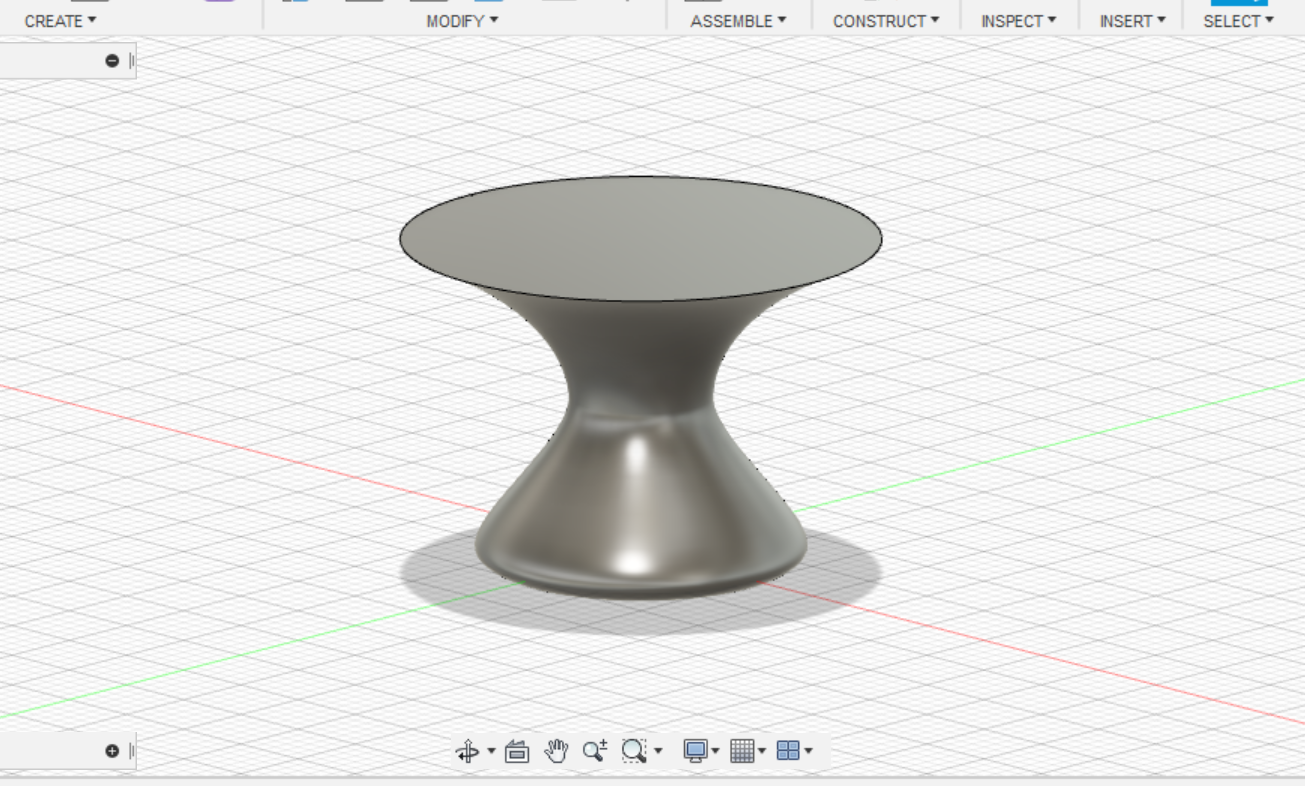
Loft is a great tool for creating a transition between two or more sketch profiles or faces.
This tool can be used to create chutes or sheet metal transitions. To create a loft, draw a sketch on any plane then
press Finish Sketch. Go to the Contruct tab and click on Offset Plane. After specifying the distance
of the offset plane according to your liking, create another sketch on the Offset Plane and press Finish Sketch.
Now you have 2 planes with a sketch on each plane. Repeat these steps for a many planes as you wish. Next, mouse over to the
Create tab and click on the Loft icon. Lastly, select your sketches and connect your sketches with your mouse to produce
the lofted feature.
7. Shell
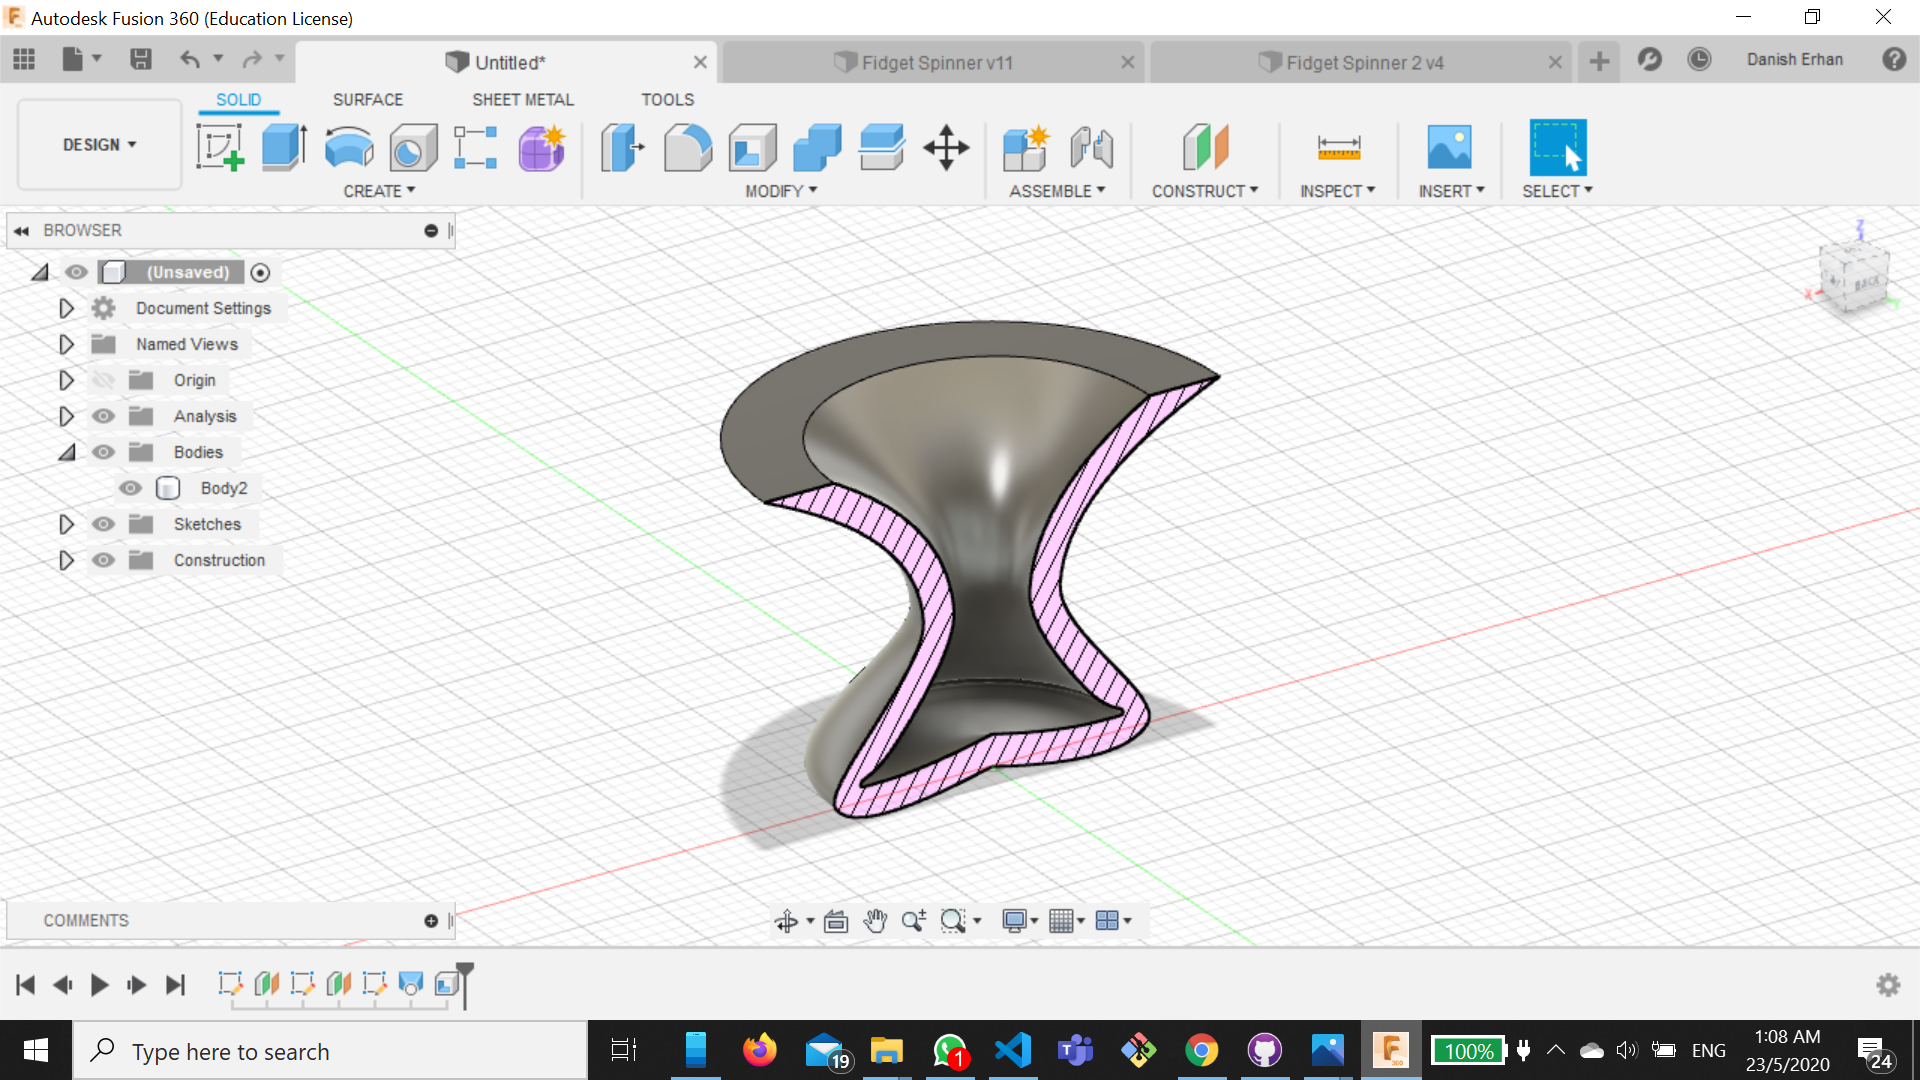
Shell removes the material inside a body. To shell and object, first create a 3D object. In this scenario, I have reused
the lofted object from the above point. After doing so, mouse over to the Modify tab and click on the Shell
icon. Then, select from which face you would like to shell the object.
Bonus: How did I get the cross-section view of the object? After I shelled, I mouse over to the Inspect tab
and I clicked on the Section Analysis icon. From there, I select the cutting plane of the object.
